
Notice: Before following the steps below, please watch the video below which shows the entire installation process on Windows 11.
IMPORTANT: Follow each step carefully — screenshots are provided to guide you through the process.
📥 Install Links:
- 64-bit: Download Office 2019 (64-bit)
- 32-bit: Download Office 2019 (32-bit)
💡 Which version should I choose?
Most modern systems should use the 64-bit version. It offers better performance, especially for large documents, spreadsheets, and systems with more than 4 GB of RAM.
Choose the 32-bit version only if:
- Your system is older and only supports 32-bit applications
- You need to use legacy add-ins or applications that only work with 32-bit Office
To check your system type: Go to Settings > System > About and look under “System type”.
🚀 Installation Steps:
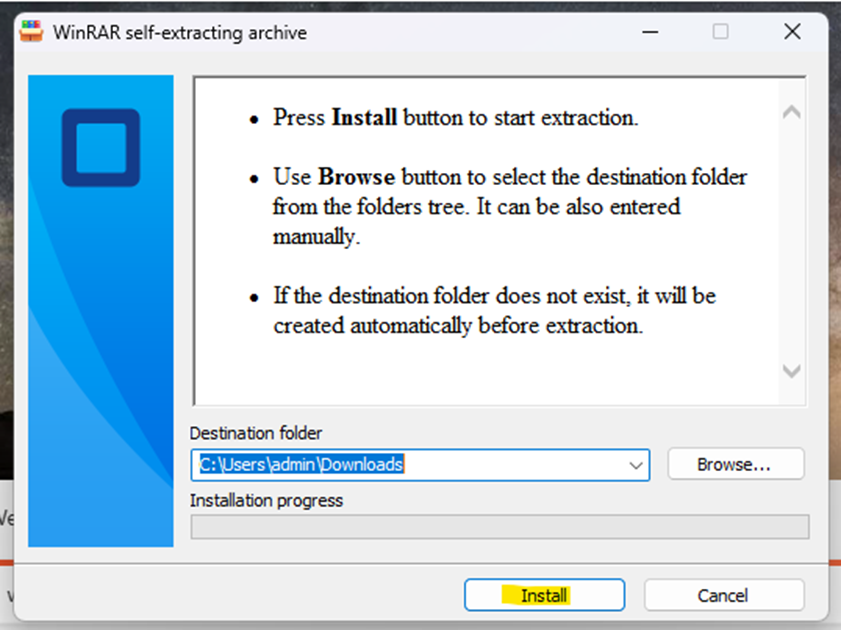
Step 1: Open the downloaded file

Step 2: Click Install
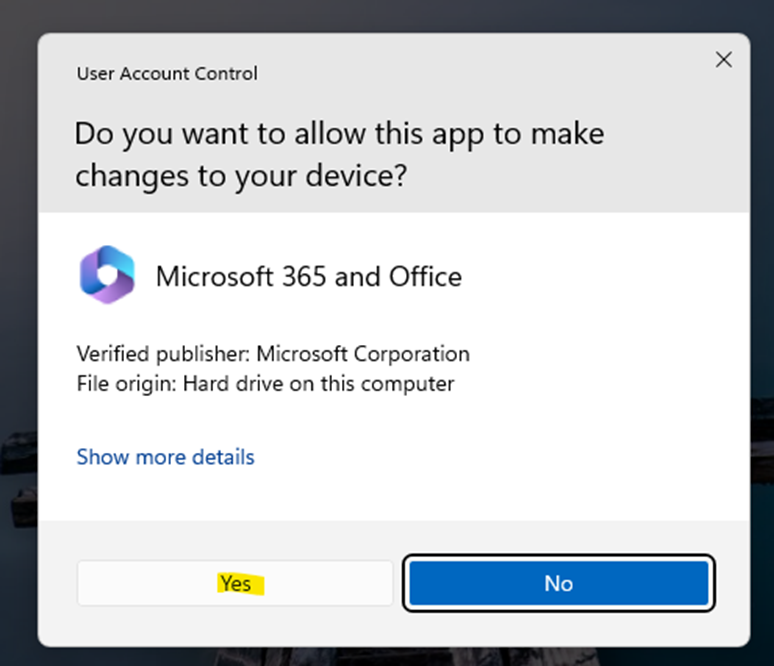
Step 3: Click Yes when prompted
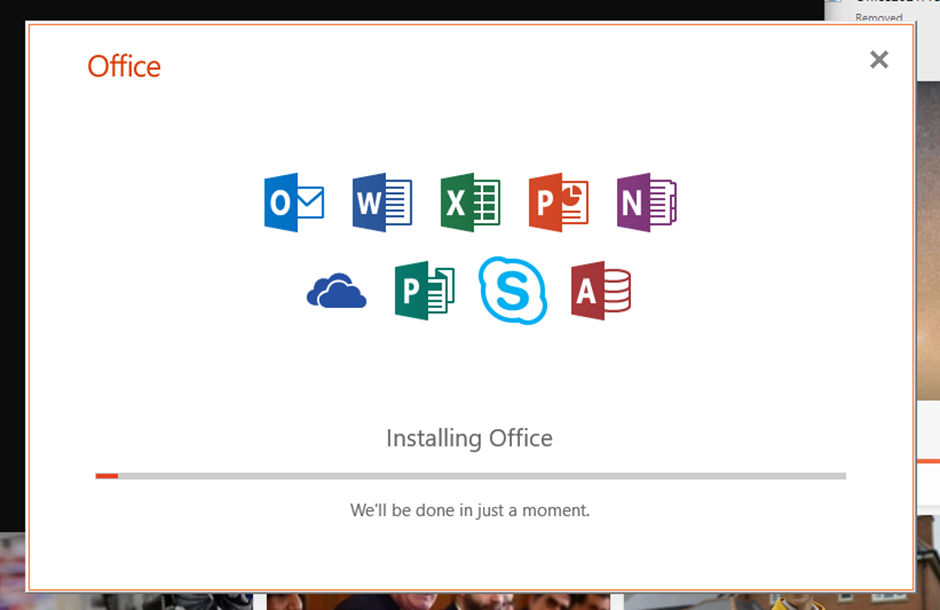
Step 4: Wait for installation to complete
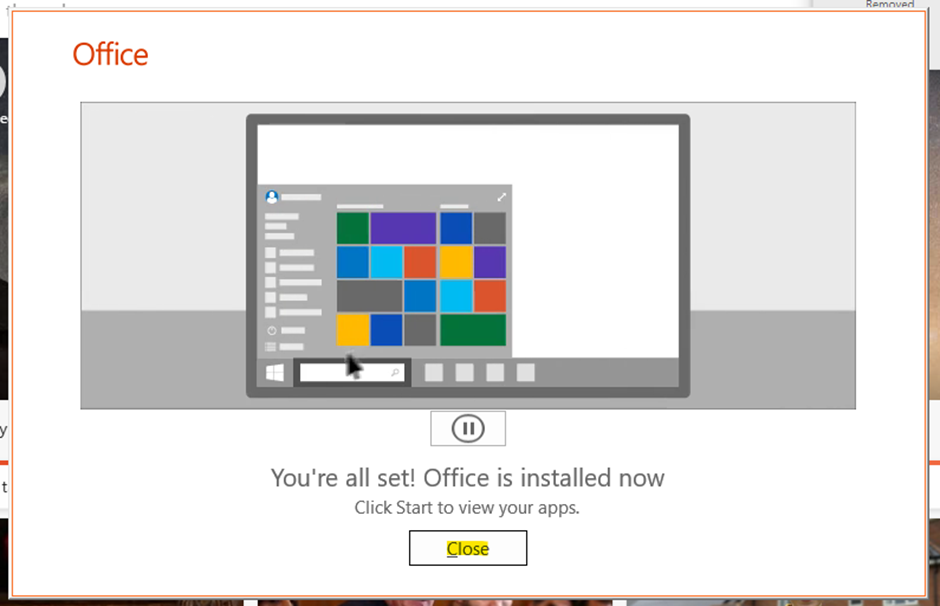
Step 5: Click Close
🧩 Activation Steps:
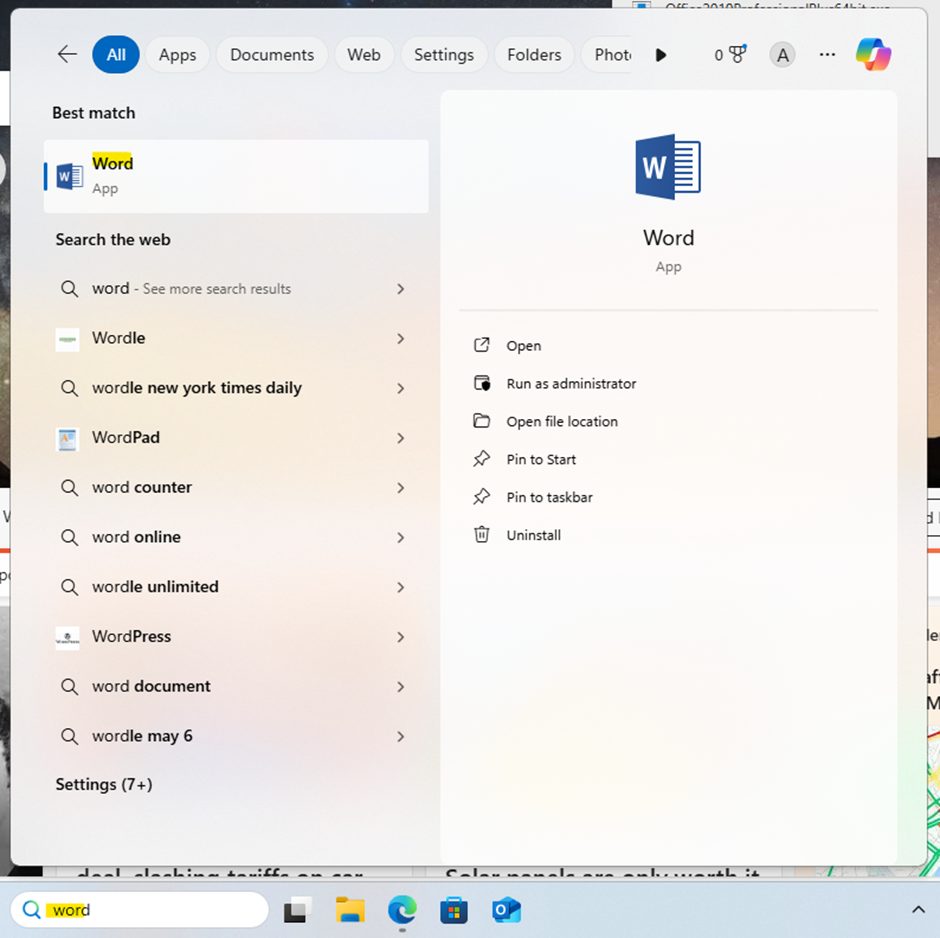
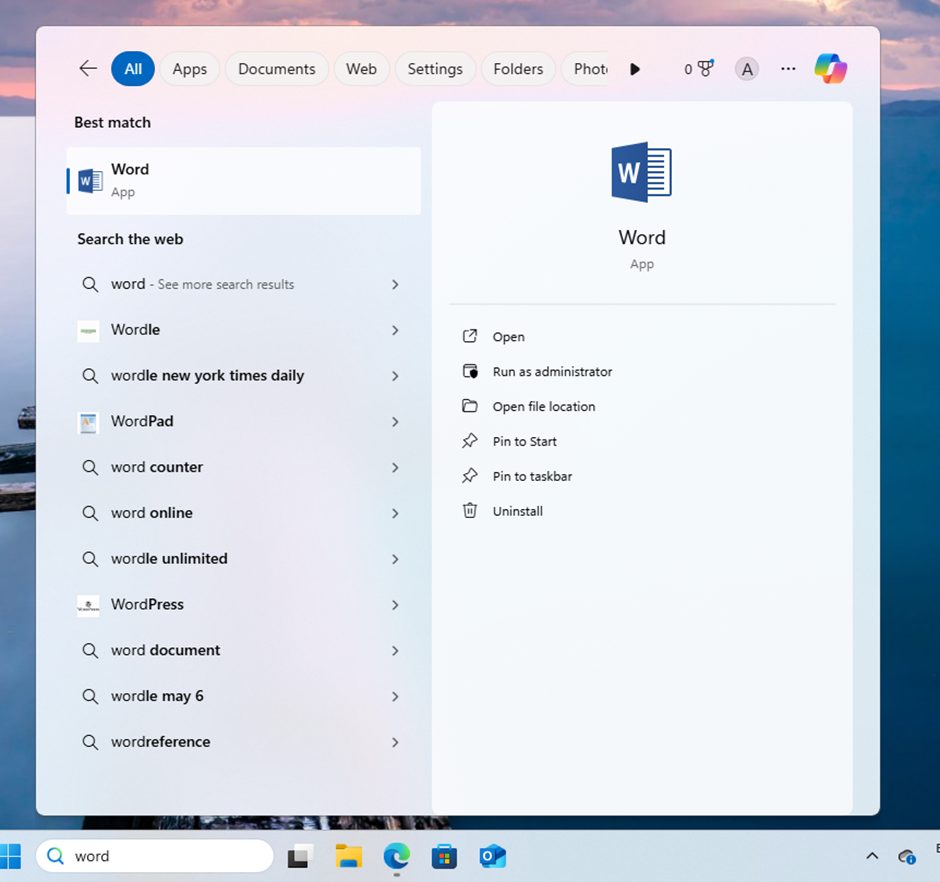
Step 6: Search for Word in your Start Menu and open the application
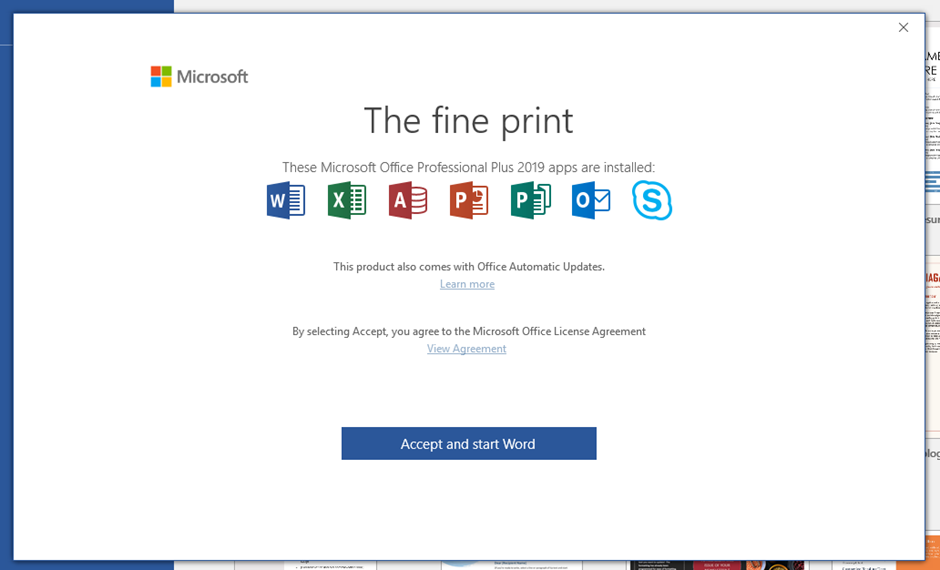
Step 7: Click Accept and start Word
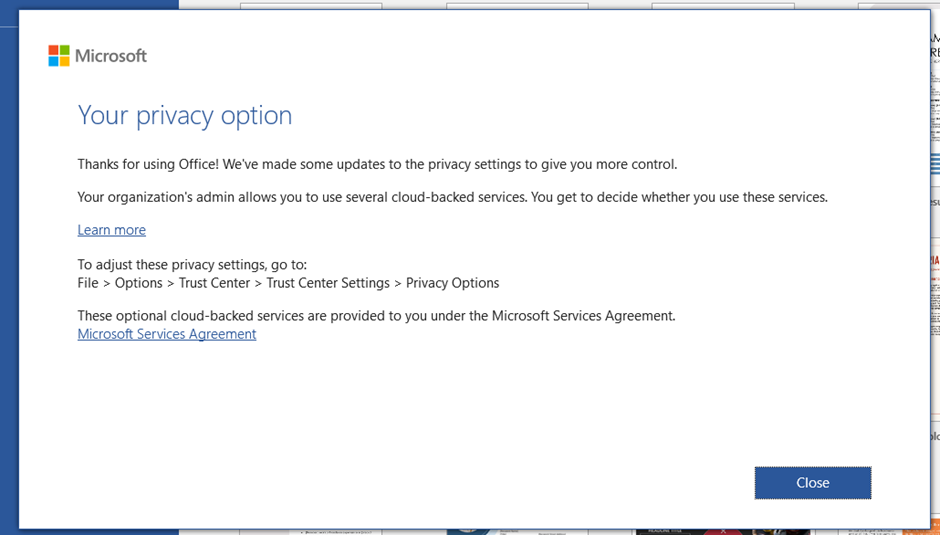
Step 8: Click Close
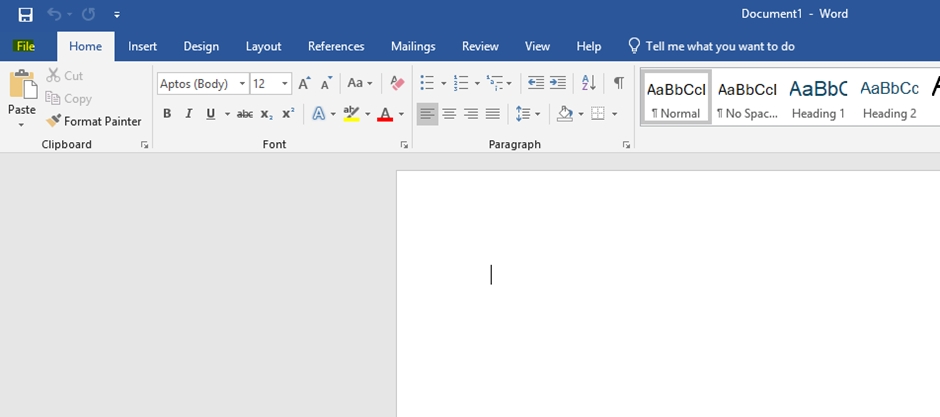
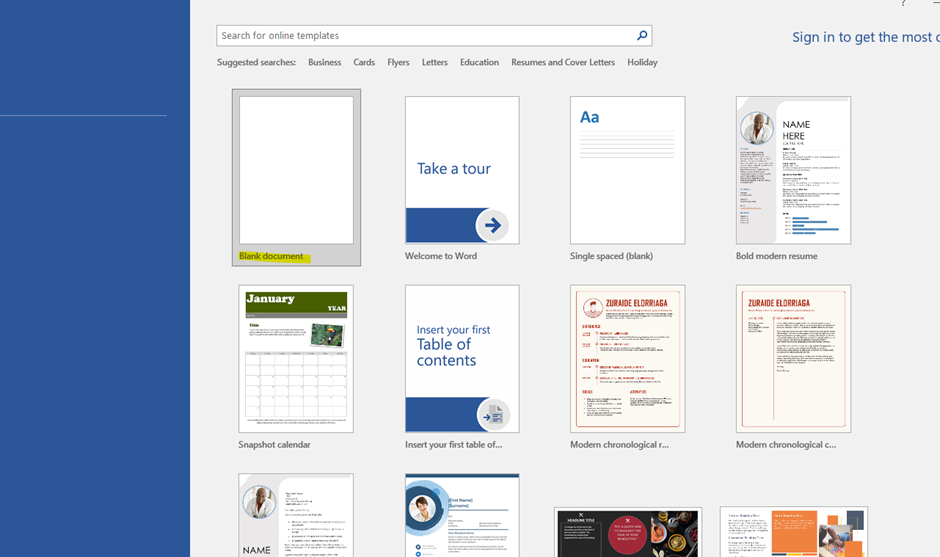
Step 9: Click Blank Document

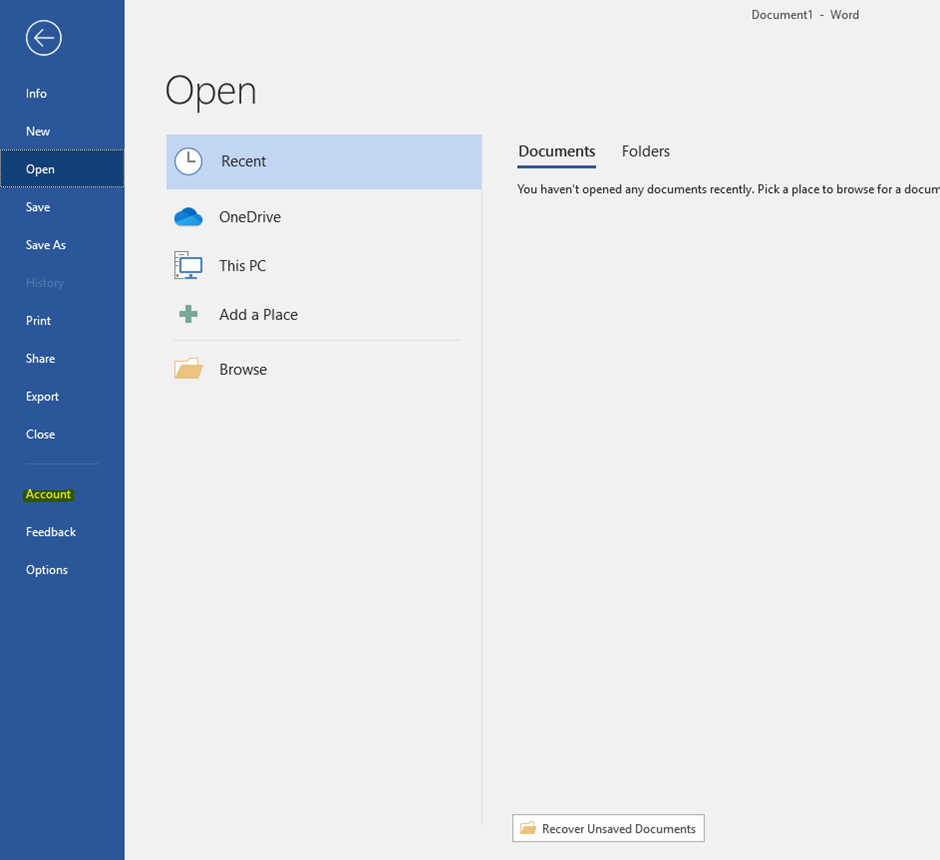
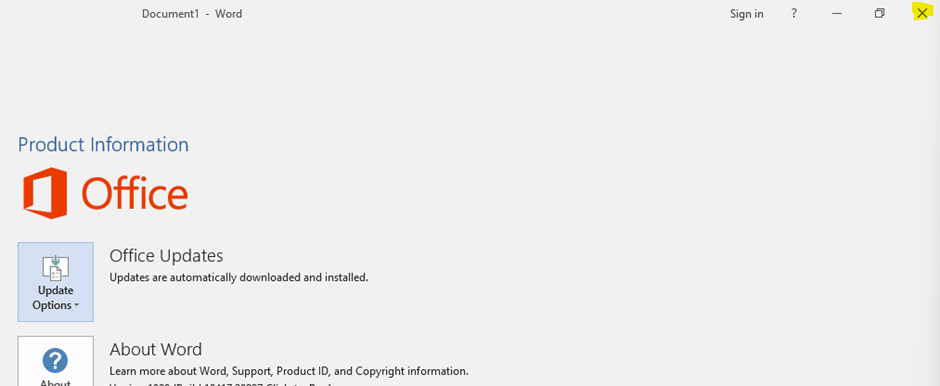
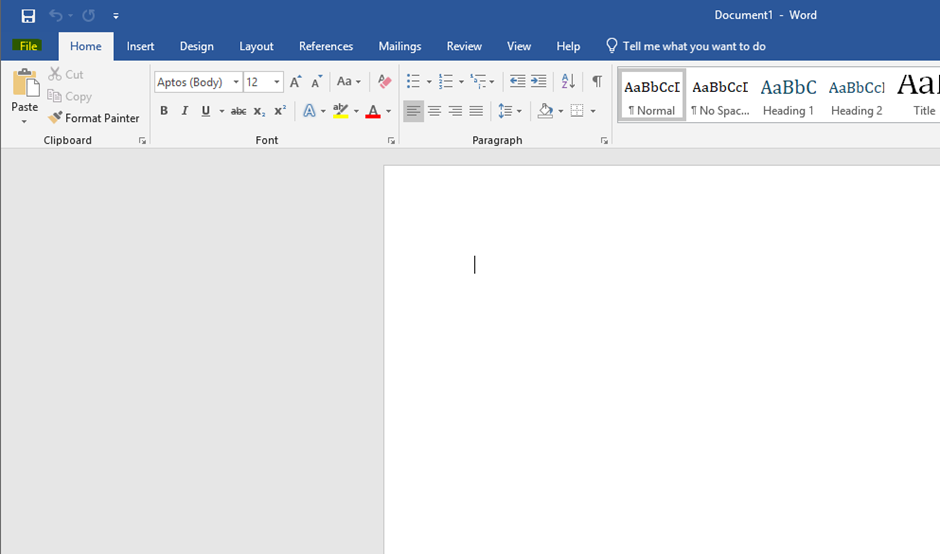
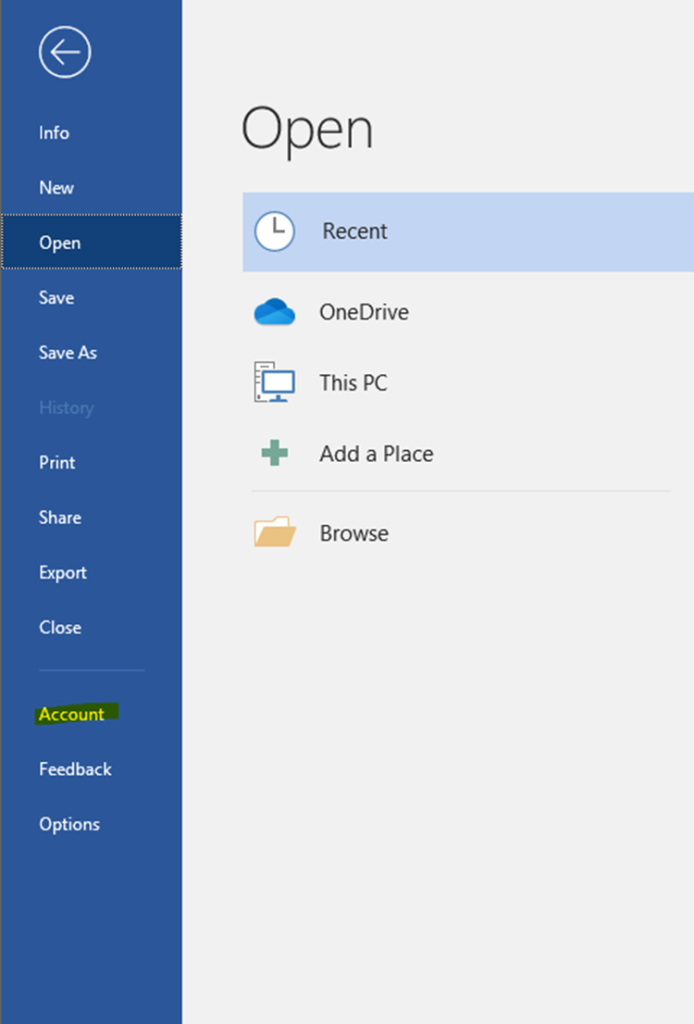
Step 10: Click File
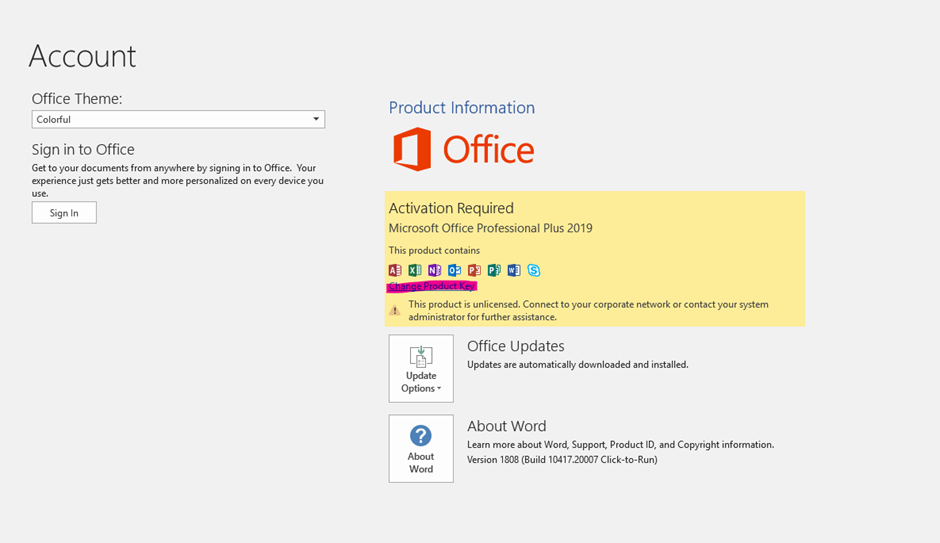
Step 11: Click Account on the left-hand side
Step 12: Click Change Product Key
Step 13: Enter your product key
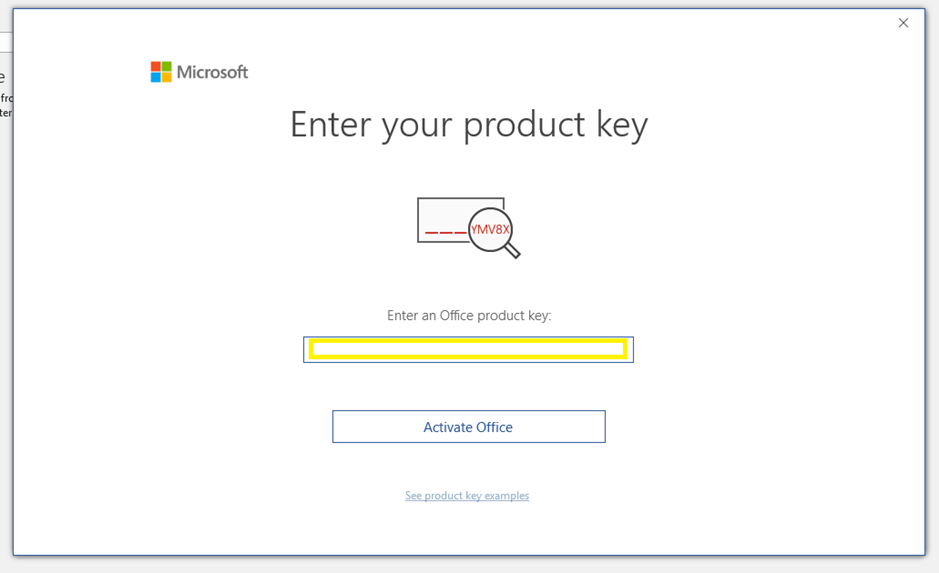
Step 14: Click Activate Office

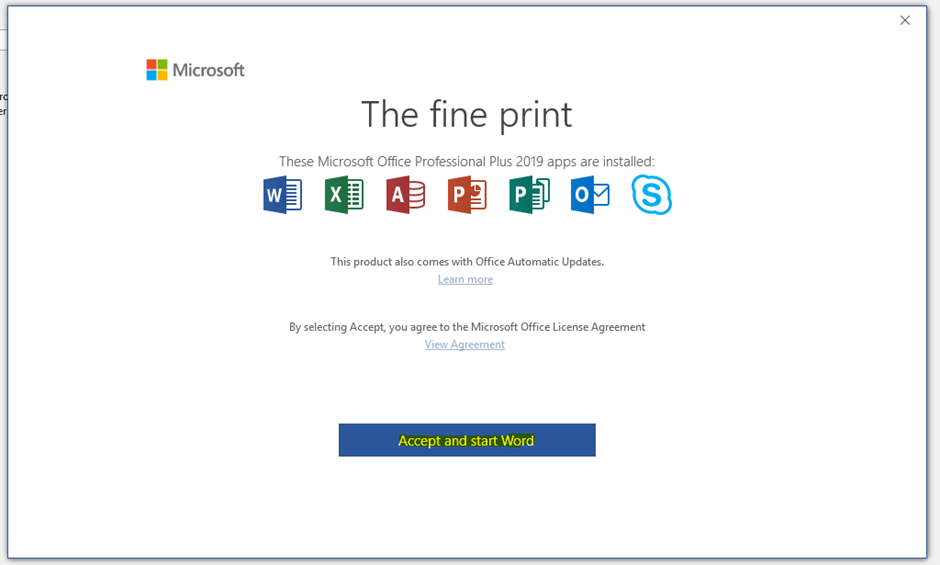
Step 15: Click Accept and start Word
Step 16: Close Word
Step 17: Search for Word again and open it
Step 18: Click Blank Document
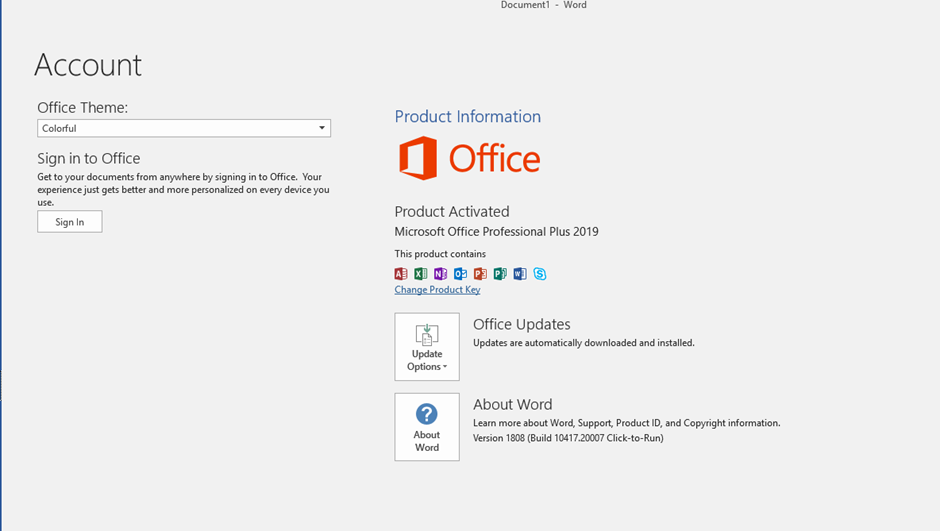
Step 19: Click File
Step 20: Click Account
Step 21: If Office says “Product Activated”, you’re done.
If not:
- Restart your computer
- Go back to the Account page
- Sign out of any accounts shown
- Click Change Product Key again
🎉 All Done!
Your installation and activation of Microsoft Office 2019 is now complete. You can now start using Word, Excel, PowerPoint, and other Office applications.